Top Travel Photography Tips for Beginners
I still remember my first “perfect” travel shot, a quiet sunrise over Prague’s Charles Bridge. The light, the colors, the reflection, everything looked magical through my lens. And then, I got home and saw it on my laptop. Flat. Overexposed. Lifeless. I had no idea how much shutter speed, aperture, and ISO mattered back then.
If you’ve ever felt the same, this guide is for you. Whether you’re traveling with your first digital camera or your phone, great travel photography isn’t about having expensive gear. It’s about understanding how to use what you have.
In this travel photography guide, you’ll learn the best travel photography tips for beginners, from mastering your camera settings to finding golden-hour lighting and using leading lines for perfect compositions. Let’s make sure your next trip is full of great photos, not just good memories.
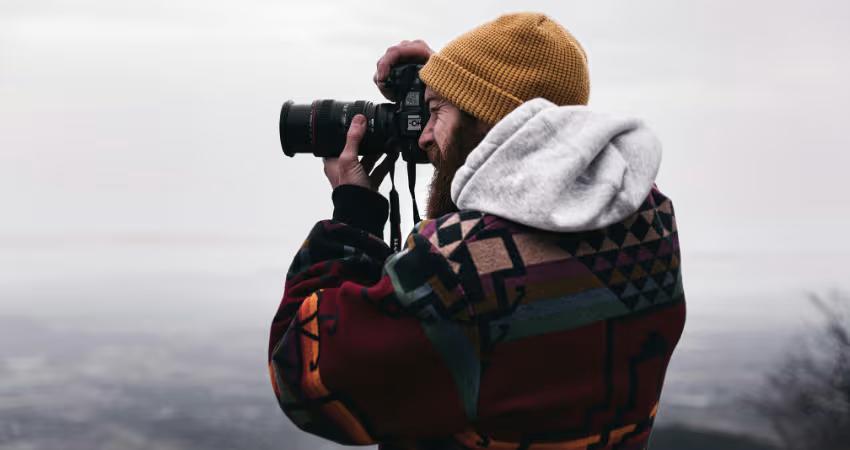
1. Start With the Right Gear: But Don’t Overpack
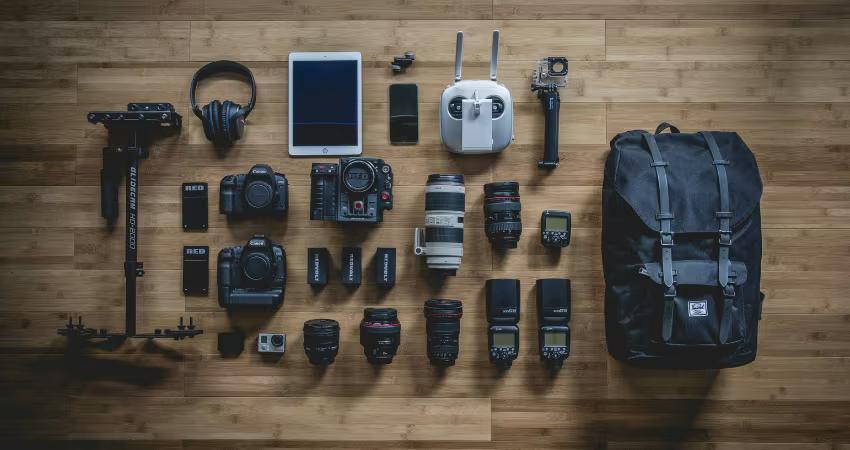
You don’t need to carry every lens you own. The best camera for travel photography is the one you can comfortably take everywhere.
- Compact mirrorless or DSLR cameras offer great image quality without the bulk.
- Lightweight lenses (18–55mm or 35mm prime) cover most travel scenes.
- Always carry extra batteries, memory cards, and a cleaning cloth.
Pro Tip: If you’re unsure where to start, rent or borrow a camera before buying. Focus on learning your travel photography equipment before investing heavily.
2. Learn the Core Trio: Shutter Speed, Aperture & ISO
These three settings control how your camera “sees” light, and they’re essential for every travel photographer.
- Shutter Speed controls motion. Use fast speeds (1/500+) for moving subjects like cars or waves, and slower speeds (1/30 or less) for motion blur or night shots.
- Aperture (f-stop) affects depth of field. A wide aperture (f/1.8–f/2.8) blurs backgrounds for portraits, while a narrow one (f/8–f/16) keeps landscapes sharp.
- ISO determines sensitivity to light. Keep it low (100–400) in daylight for crisp shots and raise it (800–1600+) in darker conditions.
Practice, practice, practice. Experiment in different light conditions until adjusting these feels natural.
3. Composition Tips: Tell a Story Through the Frame
A well-composed photo pulls the viewer in. Great travel photos don’t just show places; they show perspective.
Use Leading Lines
Roads, rivers, fences, or bridges can draw the viewer’s eye toward your subject. Use them to create movement in your image.
Apply the Rule of Thirds
Imagine your frame divided into nine equal sections. Place your subject along the lines or intersections for balance.
Add Depth of Field
Include elements in the foreground, middle, and background to add dimension, especially in landscape and city photography.
4. Lighting Techniques
Lighting can make or break a photo. The best time of day for travel photography for beginners? The golden hours, right after sunrise and before sunset.
- Soft, warm light adds glow to buildings and skin tones.
- Avoid harsh midday light; use shade or backlight creatively.
- For night photography, use a tripod or stable surface to prevent blur.
Pro Tip: Cloudy days are perfect for portraits, diffused light means softer shadows.
5. Capture Candid Moments, Not Just Landmarks
Great travel photography is about people, not just places. Look for emotion, interaction, and spontaneity.
- Take photos of street musicians, local markets, or café life.
- Use shutter priority mode for action scenes like festivals or dances.
- Keep your camera ready; the best shots happen in seconds.
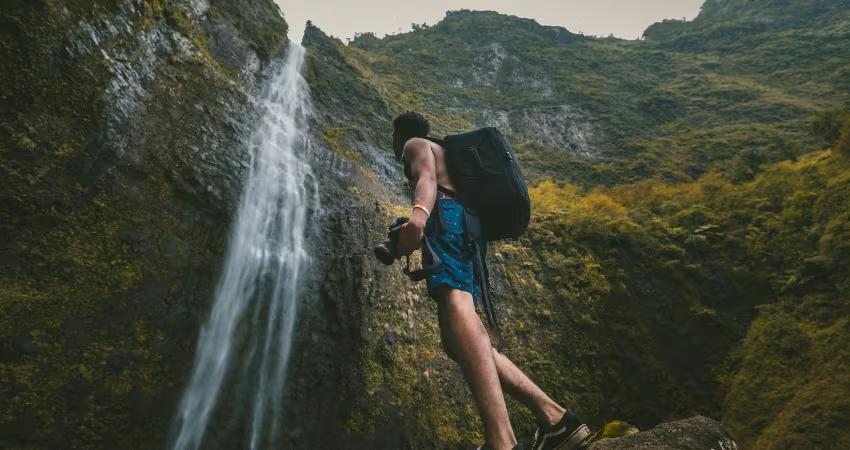
6. Play With Angles and Perspectives

Don’t shoot everything from eye level.
- Go low for dramatic landscapes.
- Shoot from above for pattern-filled cityscapes.
- Use reflections in puddles, mirrors, or glass for creative framing.
Move around your subject. Often, a one-step shift can completely change the shot.
7. Practice Makes Perfect—Daily
Beginner travel photography isn’t a thing; photography is a muscle. The more you use it, the stronger it gets.
- Take at least one photo every day, even at home.
- Review your shots critically. What worked? What didn’t?
- Compare your early photos with your new ones to measure growth.
Remember: even professional photographers started as beginners who refused to stop learning. You can start your journey with family travel photography to gain experience. Then work your way up to the exotic travel photography. In the end, it’s up to you how you wanna start your journey.
8. Edit Thoughtfully: Less is Often More
Editing enhances your photo, it doesn’t fix it.
- Adjust exposure, contrast, and white balance before filters.
- Crop with intention, maintaining your composition tips.
- Use tools like Lightroom Mobile, Snapseed, or VSCO.
Stay consistent. A cohesive editing style makes your travel photographs instantly recognizable.
9. Backup and Organize Your Photos
Losing travel photos can be heartbreaking.
- Use cloud storage (Google Photos, Dropbox, iCloud).
- Keep a portable SSD for quick backups on the go.
- Label folders by location and date to stay organized.
Tip: Sync your camera or phone to auto-upload photos daily while traveling.
10. Share, Reflect, and Keep Learning
Join online photography communities. Post your shots, ask for critique, and learn from others.
Follow photographers whose styles you admire. Recreate their shots as exercises, not imitation, but practice.
Travel photography is a journey, not a destination. Every mistake teaches you something about how to take travel photos better.
For more great tips and information about travel photography for beginners, read A Guide to Travel Photography.
FAQs
Q1: What’s the best camera for travel photography?
A mirrorless or compact DSLR offers the best balance of quality and portability. Popular beginner models include the Canon EOS R50, Sony α6400, and Nikon Z50.
Q2: How do I set my camera for travel photos?
Use aperture priority mode (A or Av) for most shots. Set ISO to auto with a cap at 1600, and adjust exposure compensation as needed.
Q3: How do I capture stunning travel photos in low light?
Use a tripod, lower shutter speed, and keep ISO within limits to reduce noise. Always shoot in RAW for better post-editing.
Q4: What are the most important elements of travel photography?
Composition, lighting, and timing. Focus on emotion and context, not just scenery.
Q5: When is the best time to shoot?
The golden hours around sunrise and sunset offer the most flattering light for landscapes, portraits, and architecture.
About Author
Ammara Younas
Travel WriterAs a travel blogger, Ammara revels in the art of discovery, seeking out hidden gems and capturing the essence of places that often slip past the notice of others. Her passion for writing drives her to explore and document these overlooked treasures, partnering with See Sight Tours to share her adventures with the world. Through her travel guides, she aims to inspire readers to delve deeper into their journeys, uncovering the extraordinary in the seemingly ordinary and challenging themselves to explore beyond the surface.

